About
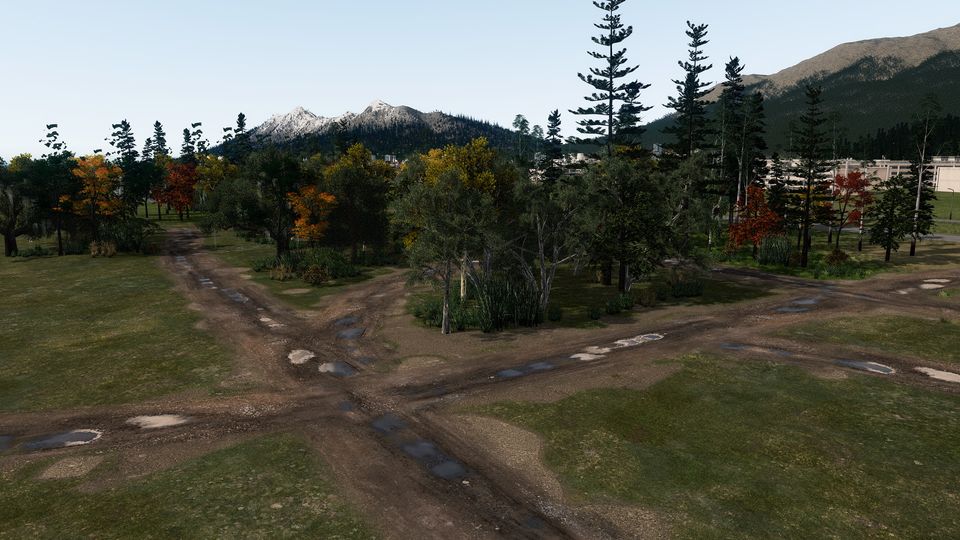
The decal shader can be used to create decal props of any size, and it's also possible to tile the decal texture.
Mesh
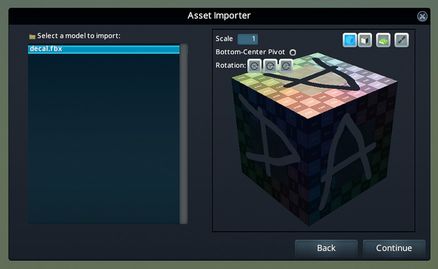
It's not required to make your own mesh, you can download the premade decal mesh, which is ready to be used with the decal script which will do the rest.
Textures
These determine the color and material properties of your decal.
Diffuse
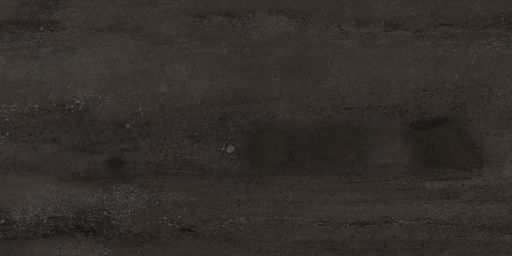
The main color and texture of your asset.
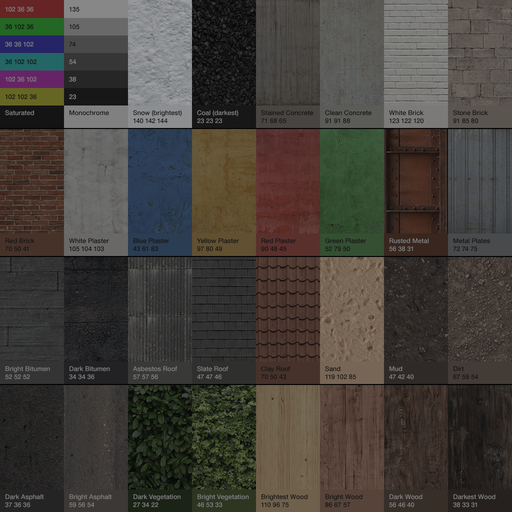
It will look very bright, contrasty, and saturated in the game, so make sure to reduce the saturation and limit the brightest parts to a medium/light gray below 140 RGB.
If you don't import a diffuse map, it will default to white.
Alpha
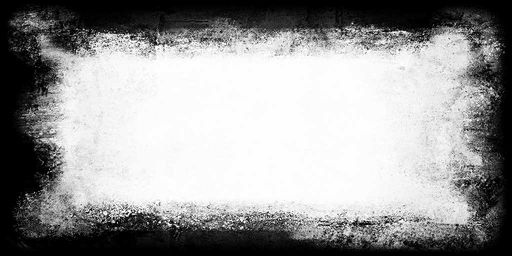
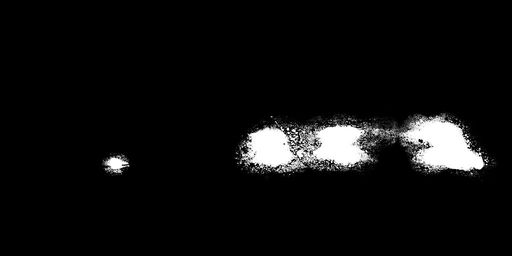
Transparency, white means opaque or visible, black means transparent or invisible. Gray values will be semi-transparent.
If you don't import an alpha map, it will default to white - fully visible.
Color
Determines which parts will be affected by color variations. White means fully affected and black means not at all.
The diffuse will get multiplied by the color variation, that means the resulting color will look darker than the original diffuse.
If you don't import a color map, it will default to full color, but the "use color variations" setting must be enabled for the colors to appear.
Illumination
Allows for diffuse contribution illumination. Black means no illumination and white means the brightest possible illumination. For decals, the illumination is not very noticeable.
If you don't import an illumination map, it will default to no illumination.
Specular
Reflectivity, black means no reflection and white means max reflection. As opposed to other types of assets, decals don't display a specular highlight from the sun, they only display the environment cubemap reflection.
If you don't import a specular map, it will default to no specularity.
Normal
The normal map only affects the reflective parts of decals, therefore it's often not useful.
Read more about normal maps in the prop asset creation article .
If you don't import a normal map, it will default to a flat normal map - no bump.
Format
Use a lossless format like .PNG.
The game supports other formats as well, but there is no reason to use another one, it doesn't matter how much your texture is compressed or even if it's completely solid or complicated, the game will convert it to a DXT format, so the final size won't be affected by anything other than resolution.
Make sure the texture is 8 bits/channel because a 16 bits/channel image can't be imported. Do not use the "Smaller File (8-bit)" feature in the Photoshop Export As window, as that creates an indexed color image, not an 8 bits/channel one.
Resolution
All imported main textures must be the same resolution.
Powers of 2 is a standard practice in 3D graphics, which means resolutions such as 1024x1024, 1024x512, 256x512, 2048x128 etc. It is recommended to stick to this standard, otherwise, your texture may be corrupted by compression, which may be more visible at longer distances or grazing angles. The smallest allowed resolution is 32x32.
Make sure texture quality is set to high in the game's graphics settings. otherwise, your imported textures will be downscaled to a lower resolution.
Import
Naming
The mesh can have any name.
The textures must have the same name as the mesh, but with the texture type identifier after it, so the result will be names like meshname_d.png, meshname_a.png etc.
Import Folder
You should place the mesh and texture files in the import folder located here:
%LocalAppData%\Colossal Order\Cities_Skylines\Addons\Import
The AppData folder is hidden by default, you can access it by copying and pasting the path into the file explorer, or pressing Windows + R and typing in appdata.
Template
The template you choose doesn't matter, as the script will change all the relevant values.
Import
If you get an unsupported color error, one of your textures might be a 16 bits/channel file, you need to change it to 8 bits/channel, in Photoshop: Image > Mode > 8 Bits/Channel.
Script
To change the shader of your prop to decal and set the size of your decal, you need to run this script using the ModTools console F7.
The result will be instantly visible and it's fine to run the script multiple times.
Variables
At the top of the script, you can change some variables.
Size
This defines the width and length of your decal in meters, the texture width and height will be stretched to match this size.
Tile
This allows to tile the texture multiple times in width and length directions. This is usually left at 1.
Slope Tolerance
This defines the height of the decal box mesh, which determines the amount of sloped terrain the decal will be able to handle, once the terrain slope exceeds this value, the decal will begin fading out at the top and bottom.
When the camera enters the decal box mesh, the decal will not be visible.
If you leave this as a negative value, the script will automatically calculate a reasonable value.
Editor Advanced
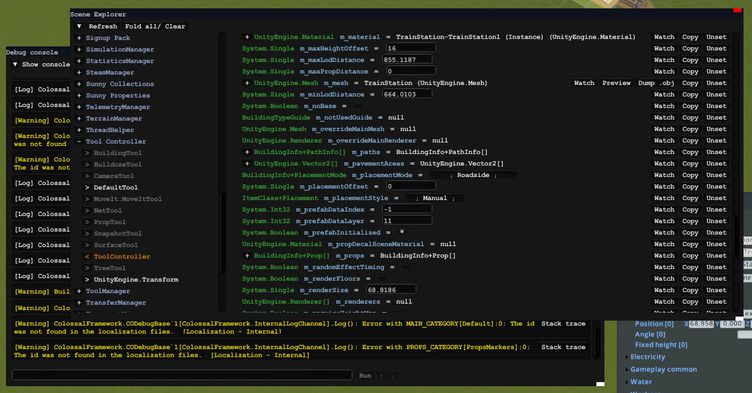
Various things can be changed with the use of ModTools scene explorer Ctrl+E or running scripts in the console F7, or specific mods.
UI Priority
UIPriority determines item order in the menu. It can be changed Asset UI Priority Changer by Snow_Cat or a script .
Variations
You can add multiple prop assets to your prop as variations using a probability value. The probability is a percentage out of 100, but the main prop has no probability so it gets whatever is left over, so if you have two variations with a 25% probability each, the main prop will get a 50% probability. The variations will be embedded into the main prop, but also show up as separate props in the menu.
Run this script using the ModTools console F7 to set the variation amount, and also calculate equal probability automatically.
Save
Filename
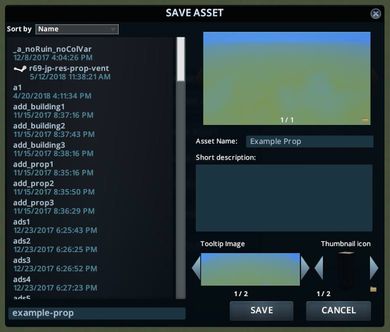
The filename input is on the bottom right, this is what the actual file will be called. It's not recommended to use spaces, dots, or special symbols.
Asset Name
The asset name visible ingame, the name people should search for.
Images
There are 2 different folders you can open by clicking the folder icons:
Snapshot
On the snapshot image, bottom right corner. Use this one to replace the snapshot, you can replace it with a 1x1 px image to save on the asset file size. This image will only be visible in the content manager. It will also default as the Steam preview image, but you can change that separately when publishing.
Thumbnail & Tooltip
Below thumbnail, on the right side. Use this one to change the thumbnail (109x100) and tooltip (492x147) of your asset.
Once you change the main thumbnail, the hover/active states will update automatically.
Local Assets Folder
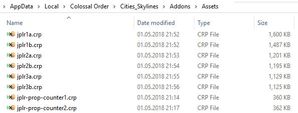
Once the asset is saved, the .crp file will appear in the local assets folder:
%LocalAppData%\Colossal Order\Cities_Skylines\Addons\Assets
The AppData folder is hidden by default, you can access it by copying and pasting the path into the file explorer, or pressing Windows+R and typing in appdata.
Publish
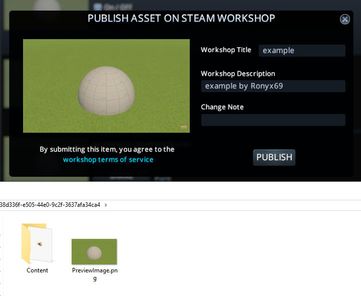
Once you have saved the asset and reloaded the game, you can publish the asset.
Go to the content manager > assets and find your asset, then click share.
Title and Description
You can change these on the Steam Workshop later.
Steam Preview Image and Content Folder
There is a folder icon again on the snapshot image, bottom right corner. Here you can change the Steam preview image, which is the thumbnail visible on steam. The largest size the image will be visible is 437x437 (on the front page) but it will get upscaled to 512x512 by Steam so that's the size you should use.
There is also the content folder, which is where the actual asset file is. You can paste multiple .crp files here if you would like to upload a pack of assets.
Steam Workshop
On the Steam Workshop page for your asset, you can:
- add it to a collection
- add images and videos
- add contributors and links
- add required items and DLC
- change visibility to friends only or private
Update
To update your own item, you must subscribe to it first, then it will show up in the content manager. It won't be the same as a local asset, as it will show an "update" button.
When you click update, click the folder icon, and now you can change the Steam preview image and put your new asset in the content folder. If updating a pack, remember to put all the assets inside the content folder.
You can also add more assets to make it a bigger pack.
Make sure your updated assets are saved with exactly the same name as before, otherwise, it will disappear from your subscribers' saves, as the game uses the internal prefab name to refer to it. In the case of networks (roads, tracks etc.) it may completely break a save.
Prefab Name
This is not something you can change.
It's the hidden internal name used to refer to your asset in savefiles.
It's the reason why a local asset is not the same as a workshop published asset.
For local assets: filename.Asset Name_Data
For published workshop assets: SteamID.Asset Name_Data
